


Riding means being ready for anything. Get your ride ready for another big year of warm, sunny miles and two-wheeled adventures with friends. Or make sure you can ride consistently through the winter. It’s always important to inspect your trusty road bike and perform some basic maintenance checks to ensure your rig is ready to roll.
Consider taking your bike to your local bike shop for a thorough inspection and tune up for the next season. Or give the bike a check if you’re comfortable making judgments about wear and tear or possible damage. When in doubt, take your bike to the experts at the Shimano Service Center and they can get you rolling in no time.
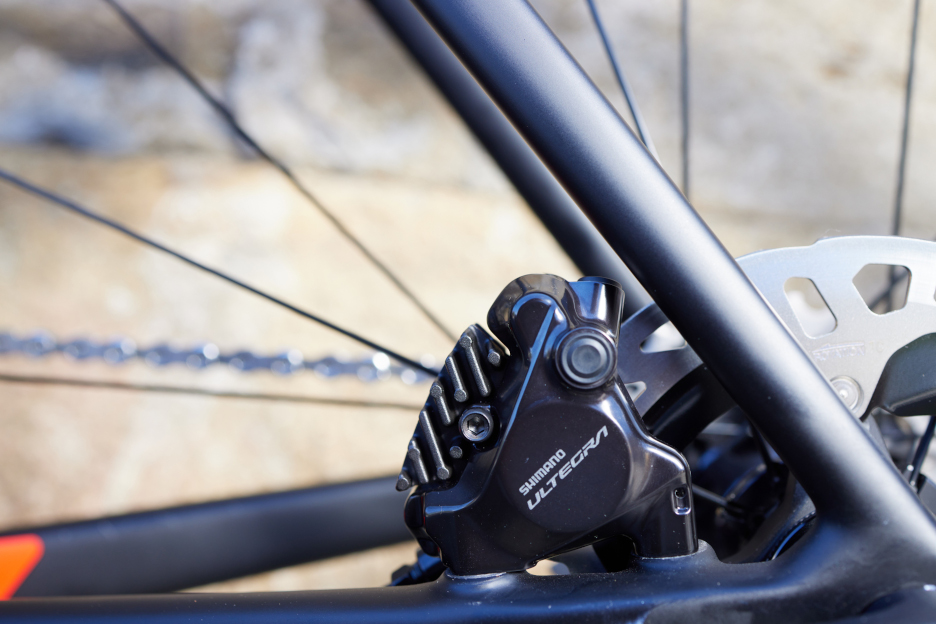
Hydraulic disc brake system
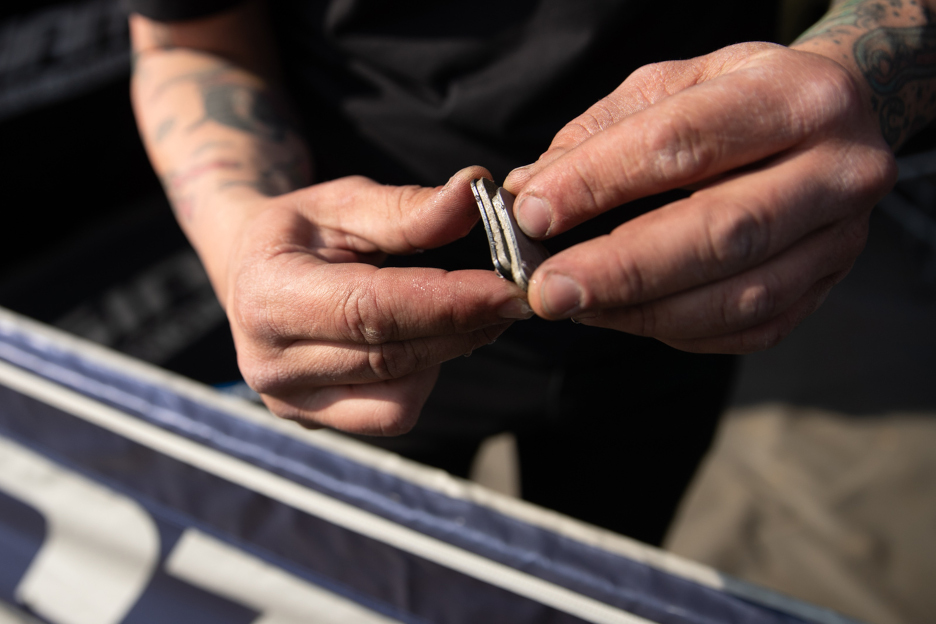
Brake Pads – Inspect your brake pads to determine how much life is left in them or if it’s time to replace them with a fresh set. Check the pads visually by examining the raised material that contacts the rotor. There should be enough material visible past the metal spring clamp that holds the pads in place. If the material looks slim, it’s time to replace your pads.
Another indicator that it’s time to change your brake pads is if you hear a metal-on-metal grinding noise when you brake. That’s the sound of worn-out brake pads that need to be replaced immediately to avoid damaging your rotors.
Calipers and Hoses – See if your brake hoses are worn or if the outer casing has been rubbed through at any point. Also, check if there is oil on or around the brake calipers or levers. Both are red flags that parts of the system probably need to be repaired or replaced. Consider changing the hoses and rebleeding – or take your bike to your local shop for repair.
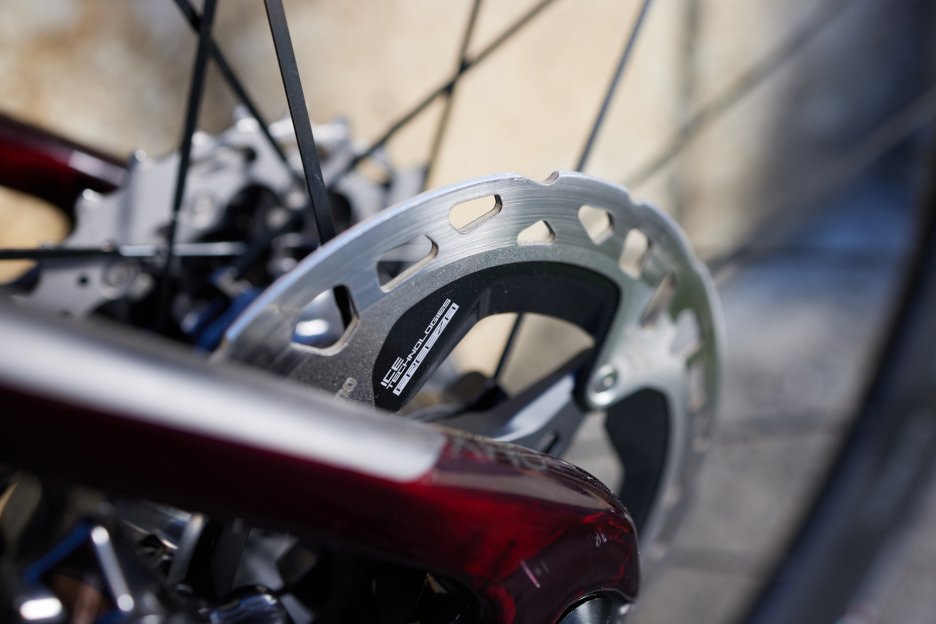
Rotors – Make sure each brake rotor is in good condition. Discoloration on your rotors is a sign to clean or replace your rotors. While some surface-wear is normal, too much can lead to poor braking performance.
Also, check if your rotors are true. If you can see a slight bend in the rotor or hear a rubbing noise when you spin the wheel, your rotor is likely bent. Use a rotor straightening tool or ask your shop for help.
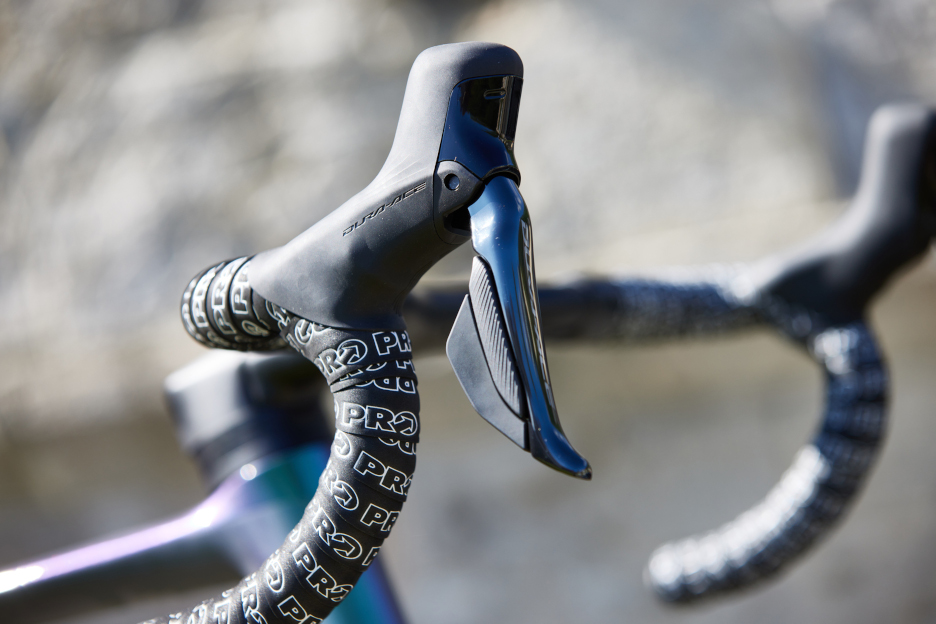
Brake Levers – Pull the brake levers – do they feel spongy? Do they pull all the way to the bar? Either symptom can indicate issues like air or contaminants in the brake hoses or a fluid leak. Perform a brake bleed with Shimano's easy-bleed funnel or take the bike to your favorite local shop for help.
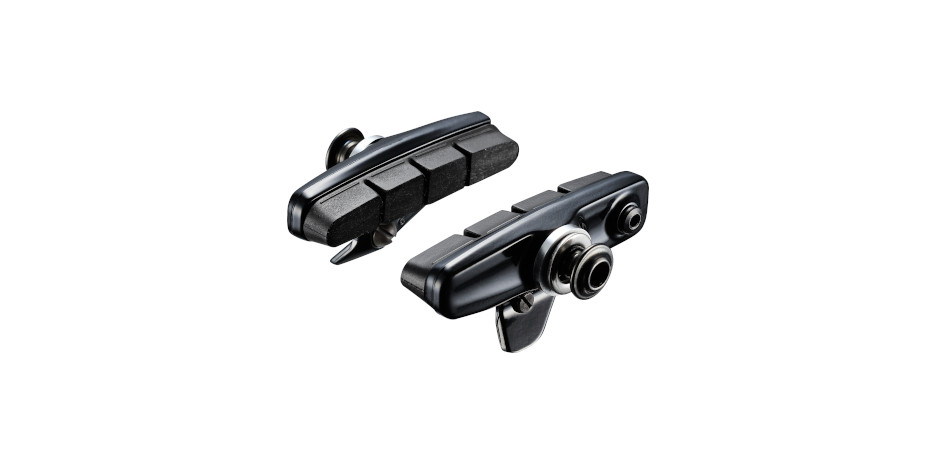
Rim brake system
Brake Pads – Inspect your brake pads to determine how much life is left in them or if it’s time to replace them with a fresh set. If the pad material is worn down or glazed over to a hard surface, it’s time to replace your pads.
Cables and Housing – Over time, grime and gunk can get into the brake cable housing, preventing the rim brakes from functioning correctly. Give the brake lever a squeeze. If you feel excess or clunky resistance, it’s probably time to get new cables and housing.
Additionally, cables can stretch with use. If there is not enough resistance, and you can pull the lever all the way to the bar, you may need to tighten up the cable at the brake caliper.
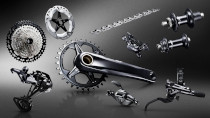
Drive train
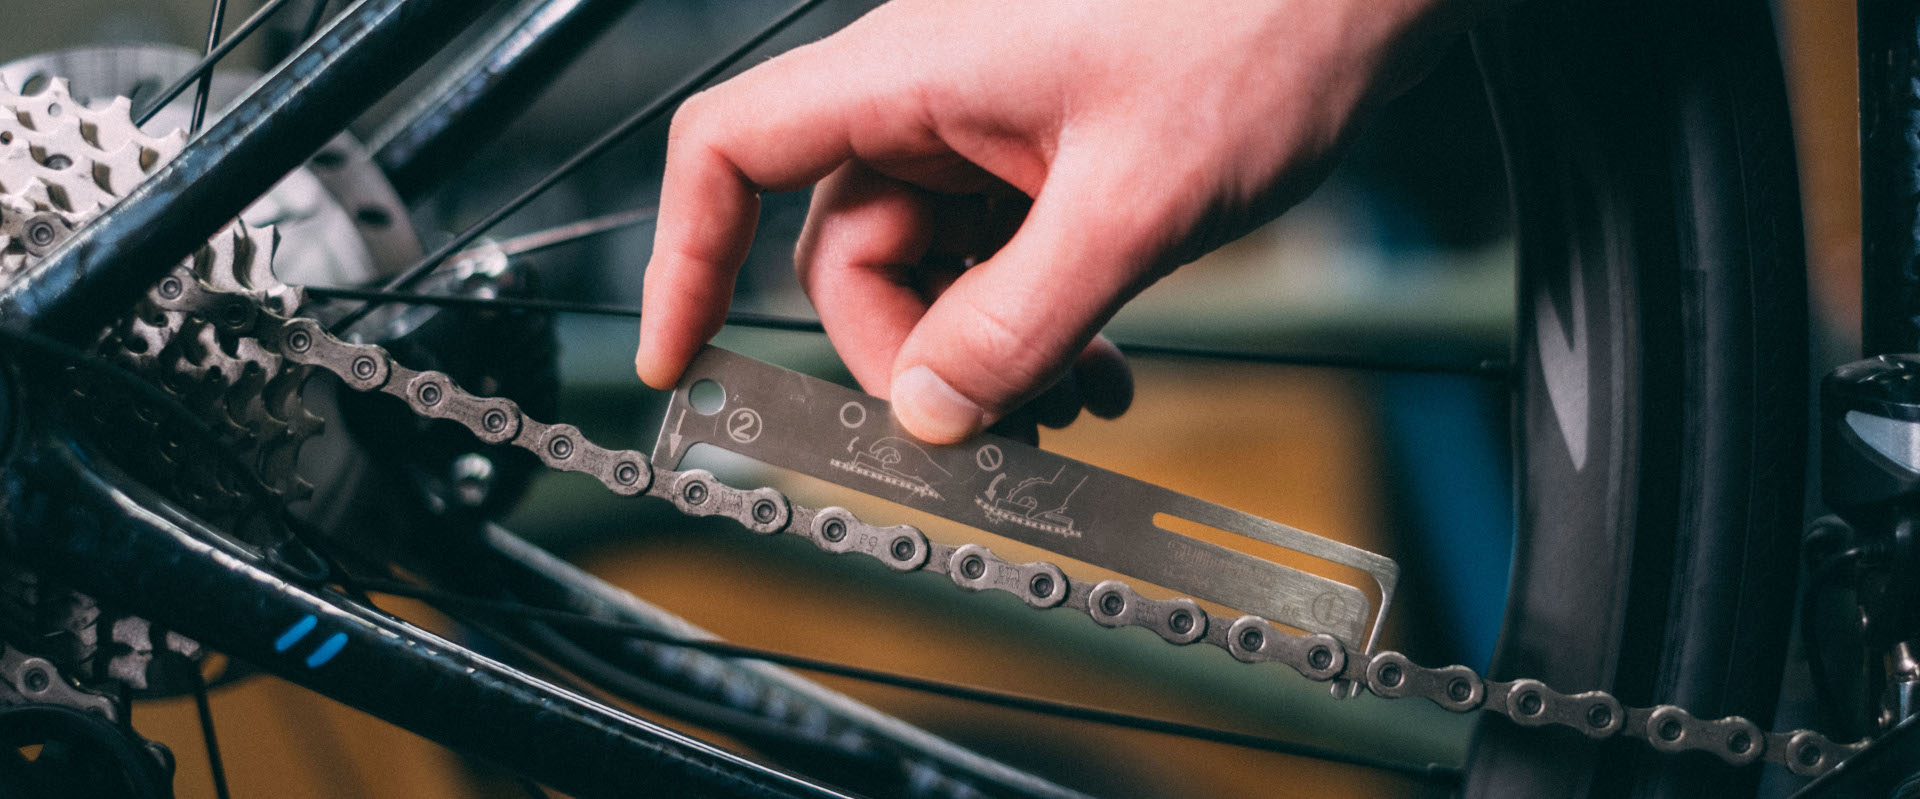
Chain - Use a chain wear indicator to determine if the chain is stretched out or is still in the optimal range. A worn chain wears out other (more expensive) components like your bike's chainrings and cassette faster, so check your chain regularly throughout the season and replace it as needed.
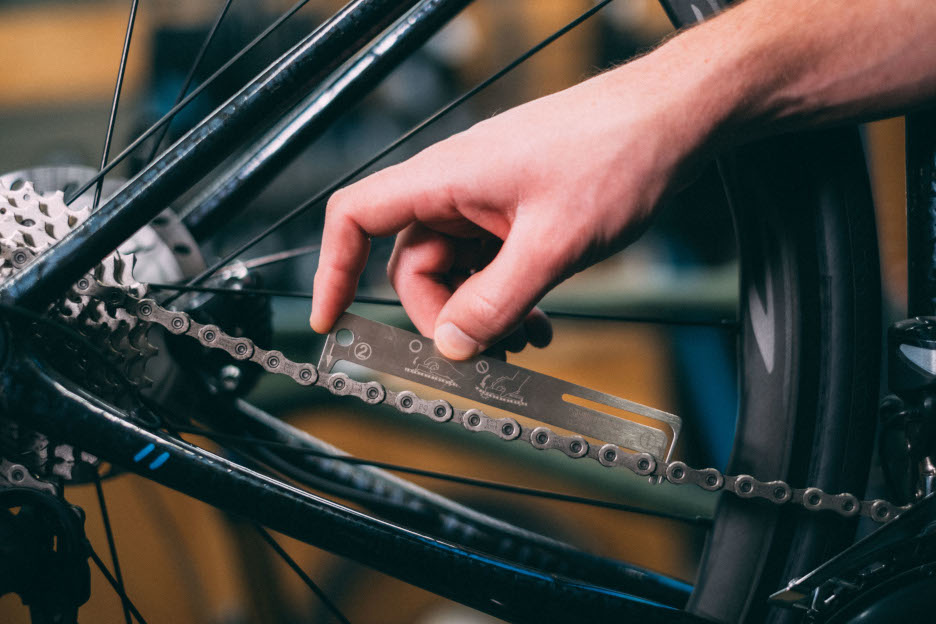
Additionally, check if the chain is clean. You didn’t put it away dirty, did you? If so, use a brush and degreaser to clean, then re-lube the chain.
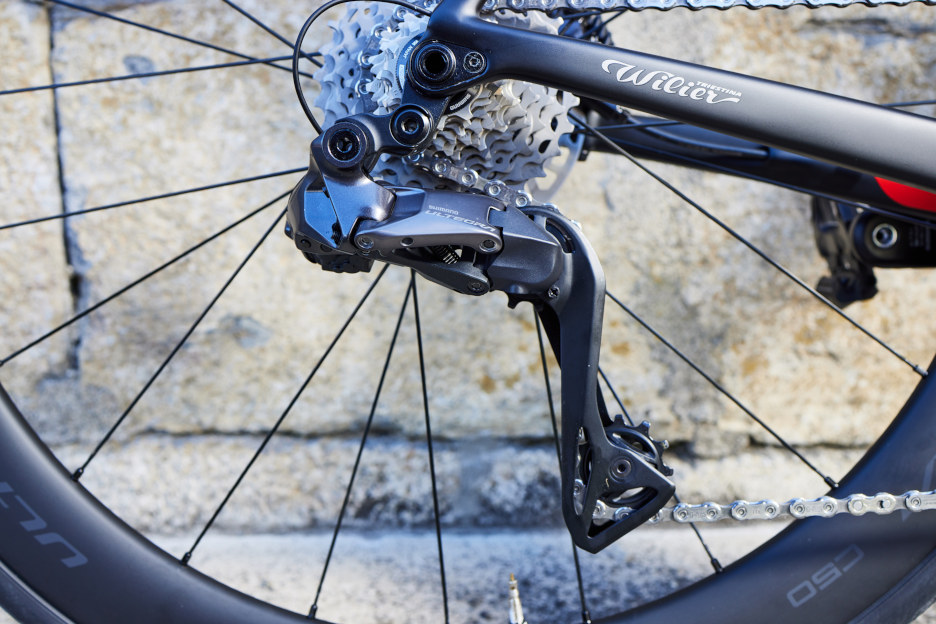
Derailleur Pully/Jockey Wheels – Make sure that the teeth of your derailleur pully are in good condition. If they are sharp and pointy, consider replacing the pulley wheels. If they’re full of gunk and grime, scrub and wash each pully with a degreaser and brush until clean. And remember, lube is best applied to the chain rollers, not all over the pully wheels where it will attract gunk.
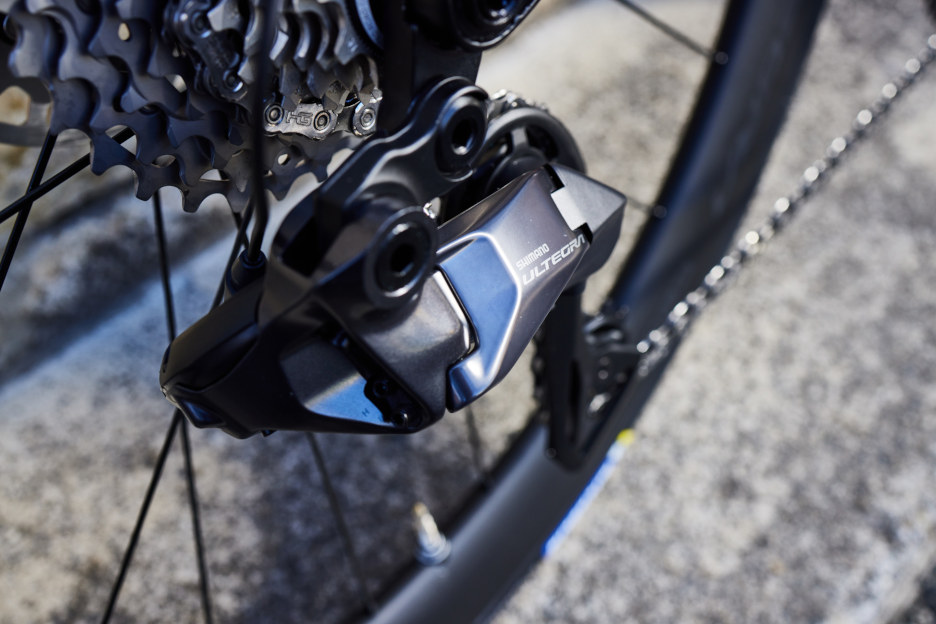
Rear Derailleur - The rear derailleur is a crucial component in shifting performance and a good day on the bike. Check the shifting with your bike in a stand or have a friend help hold the bike with the back wheel off the ground. While turning the pedals, shift through the entire cassette.
How are the gear changes? Are they as smooth and reliable as when you put it away for the winter, or did someone knock it over in the garage and not tell you? If the shifting is off, check that the derailleur hanger is not bent and that the mounting bolt that attaches to the hanger is torqued to spec.
If the bolt is tight and the hanger is straight, adjust the derailleur up or down the cassette with micro-adjustments using Shimano Di2 adjust mode. For bikes with shift cables, use the barrel adjuster to re-index for better shifting.
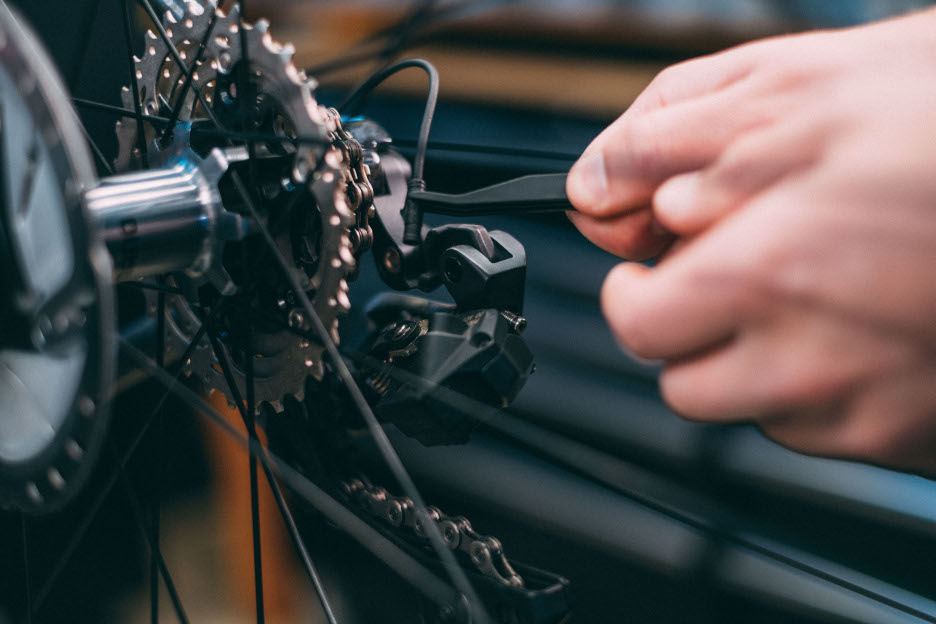
Charge the Di2 Battery – Even when not in use, the Di2 battery that powers your electronic shifting can slowly drain. On new 12-speed Di2 systems, connect the charging cable to the rear derailleur to charge the battery. On 11-speed Di2 systems, plug into the junction box and allow the battery to fully charge. Not charging? Check the connections of the Di2 wires using the supplied Di2 plug tool. Or consider a fresh battery before the season and recycle the old one.
Check your battery level before every ride by holding down the front derailleur shift button for whatever chainring you’re already in (if you’re in the big chainring, hold down the shift button to shift into the big chainring – this prevents damage to the derailleur). Look for the following battery indicators.
Steady green means 75-100%. Flashing green means 50-75%. Red means under 50% battery left – time to charge!
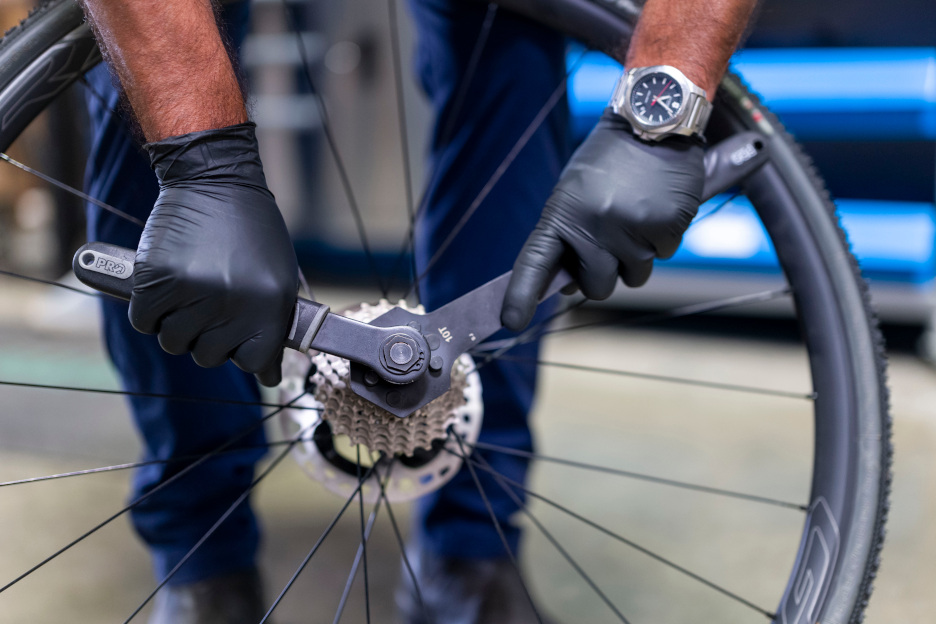
Cassette and Chainrings – It may be time to replace your cassette or chainrings if you see worn teeth that are sharp and pointy. However, if things are dirty and grimy, clean everything thoroughly with degreaser, soap, and water to ensure peak shifting performance (don’t forget to lube your chain after cleaning the drivetrain!).
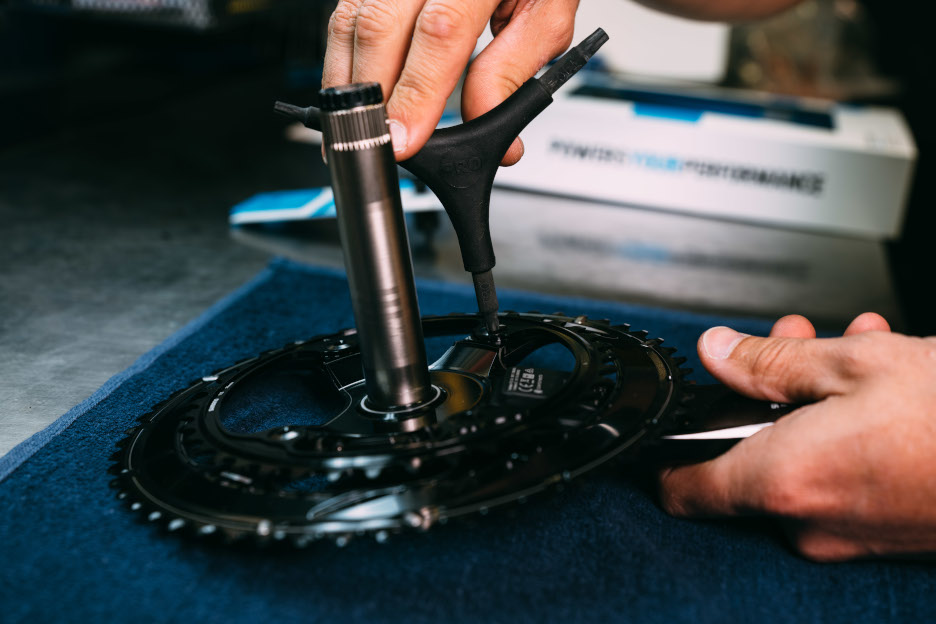
Also, check that the cassette lock ring and chainring bolts are torqued to spec. You should not be able to wiggle them with your bare hands. If you can, tighten things up and then use a torque wrench to ensure that all bolts are properly secured.
Cranks – Inspect your cranks for damage. If you see any, replace them immediately. Also, ensure the cranks are tightly secured to the frame by grabbing one crank arm and giving it a good push and pull laterally. There should be no play or clicks. Finally, inspect the crank arm bolts on the non-drive side to ensure they have not loosened. Torque to spec or take to your favorite local shop for help.

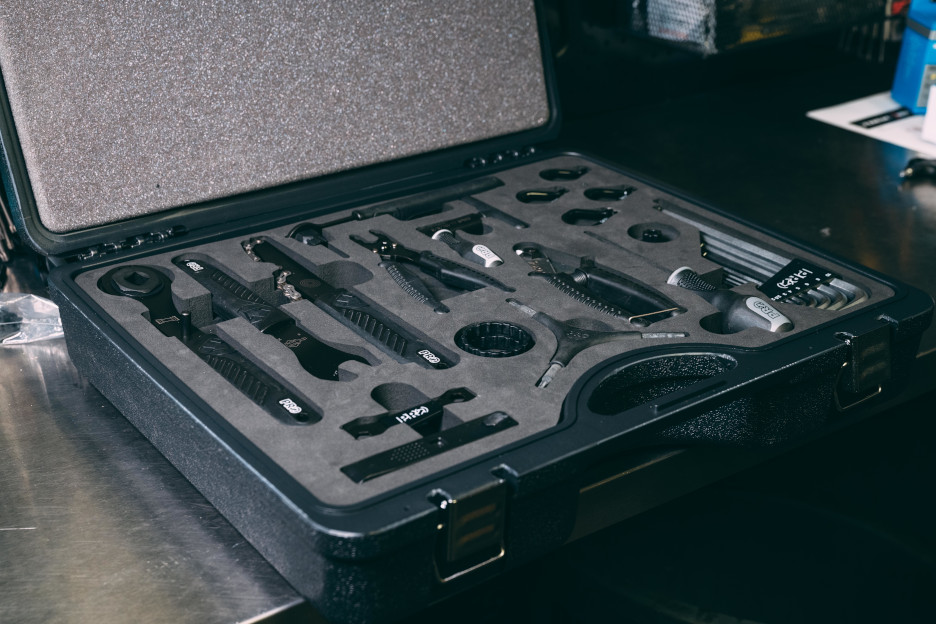
Bolts and bearings
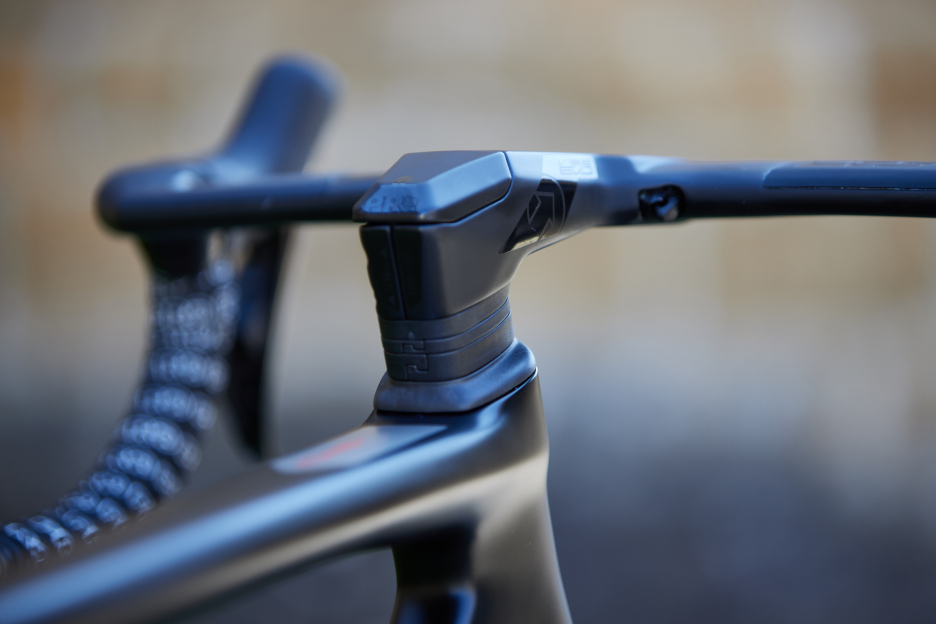
Go over your entire bike with a torque wrench to ensure everything is tightened to spec. This value is usually written on each component in Newton-meters, or the values can be found on the Shimano website and user manuals. The bar and stem bolts are among the most critical bolts to check as they secure the steering and handling.
Also, check the derailleur mounting bolts, seat clamp bolt, and saddle fixing bolts. Proper torque will prevent slippage and improve the longevity of parts and fasteners. If any bolt heads appear worn, consider replacing them to avoid stripping fasteners or damaging tools.
Bearings – Test the smoothness of the bearings in your bike’s headset, bottom bracket, hubs, and pedals. Are they crunchy or do they have excess play during regular use? If so, they’ll need service or replacement.
Some bearings can be opened and cleaned/repacked, but other fully sealed designs require replacement. Headsets and threaded bottom brackets have the most user-friendly replacements for the DIY-inclined. If the bearings require a special removal or installation tool, like press-fit bottom brackets or hubs, your local Shimano Service Center will be happy to help.
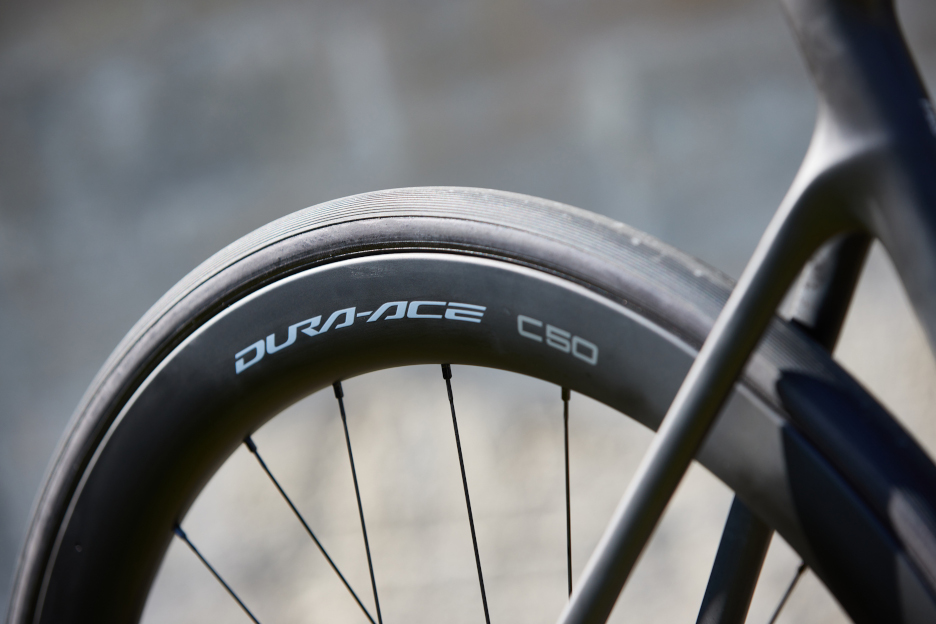
Tires and Sealant – Even sealant that was fresh a few months ago can crust up and become a rubbery latex pancake if left to sit too long. Give the tire a shake and listen for a sloshing noise. If there’s not one, there’s a good chance the sealant has gelled up. To visually inspect, pop one tire bead off the rim and orient the opening at six o’clock. If no liquid sealant flows to the bottom, remove the tire, scoop out the old sealant, and replace it with fresh liquid.
Examine tires for wear or significant damage. If the rubber looks cracked or excessively worn, consider replacing your tires for the start of the season. If the casing is visible through any slashes in the tread or sidewall, it’s also time to consider new tires.
Set yourself up for success by getting your bike cleaned, checked over, and ready to roll. Make sure your gear is in good condition and change out any parts with excess wear and tear.
This list of checks and maintenance may seem long and daunting, but once you go through each component, you'll be confident that your bike is ready to tackle every season.
While performing these checks, if you find yourself in doubt, feel free to take your bike to your local Shimano Service Center for an inspection. After all, they are the professionals, and will be happy to ensure your bike is safe and in tip-top shape, ready for whatever the road brings you this year.
Share this article