


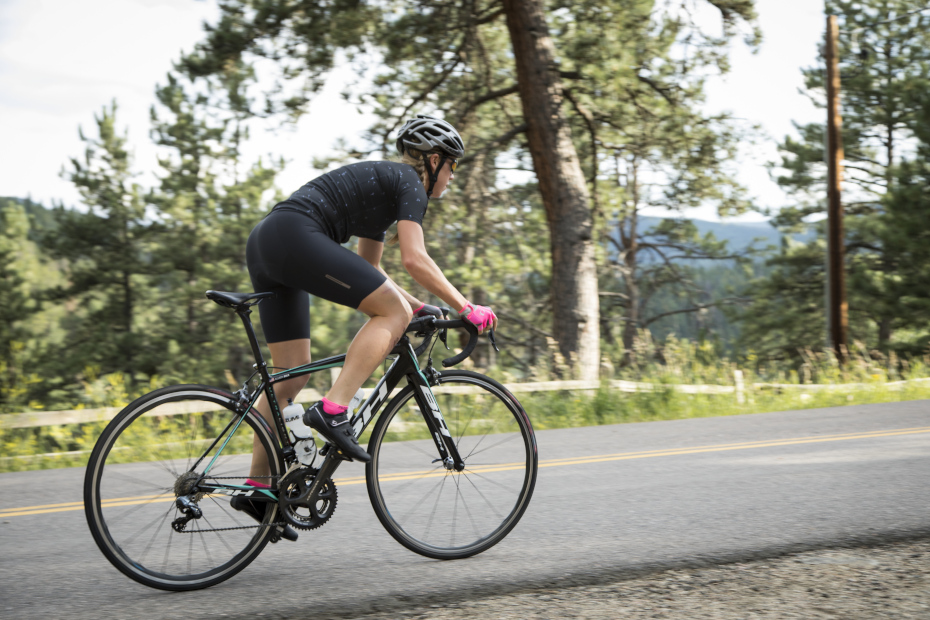
Often taken for granted, the handlebar is one of the most important components on your road bike. Along with your pedals and saddle, it’s one of three contact points that define how you interact with your bike and the road ahead. It is also your bike’s proverbial steering wheel, controlling how your bike handles, and it plays a critical role in fit and aerodynamics as well.
Tips for setting up your handlebar for more comfort and control
At a minimum, your bar should provide three comfortable hand positions — on the tops, on the hoods, and in the drops. If that’s not the case, it’s time to adjust (or replace) something or seek guidance from a professional bike fitter.
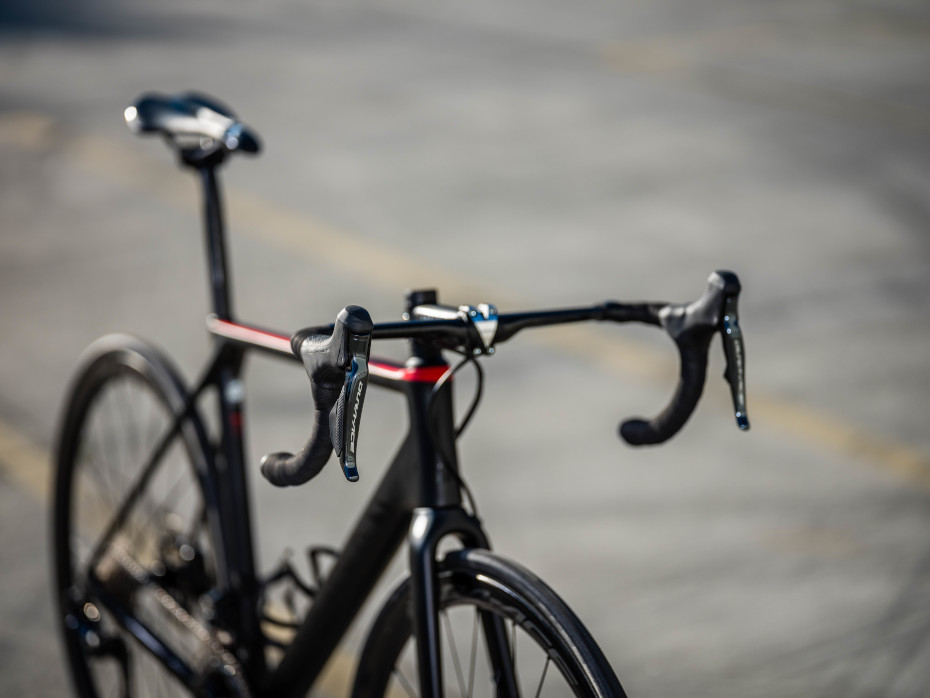
"Ten years ago, setting up your bar was viewed as a simple process," explains Chris Jacobson, Product Line Manager for PRO Bike Gear and bikefitting.com. “You’d get a straight edge and align the end of your brake lever to the base of the bar drop. But bar shapes have evolved, and today the standard is to have a smooth, flat transition from bar to brake lever hood. The idea is that the hood is on the same plane as the bar, which gives your hand a nice platform to rest on. The goal is to have a neutral wrist angle.”
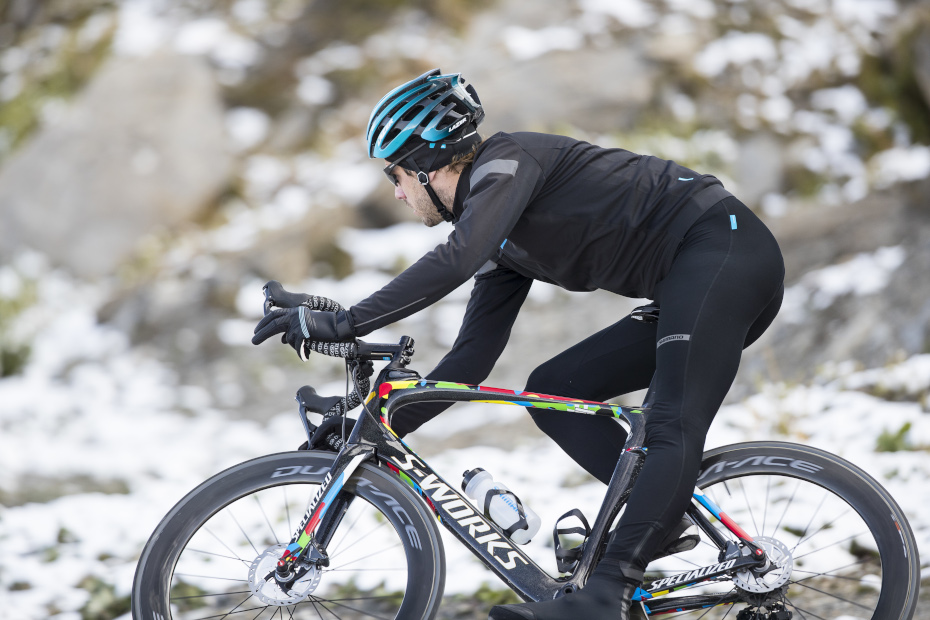
Handlebar and Shifter Hood Position
Achieving a neutral position might sound complicated, but it’s relatively easy to move your hoods around to accomplish the desired wrist angle. Simply locate the clamp inside the hood, loosen the fastening bolt, and then rotate or otherwise adjust as necessary.
“This can include rotating the hoods inward toward the mid-line of bike or changing its elevation on the bar itself rather than just rotating the bar,” explains Jacobson. "Once you've found a setup that feels good, get out for a ride and look for hot spots on your palms. This will help you get a sense of where the pressure points are. You can then reorient your hoods to minimize that pressure. It’s a trial-and-error process that can take some time, but it’s definitely worth the effort.”
Also, remember that you're striving for a setup that provides comfortable use of all three hand positions. If, for example, you rarely use your drops, it's likely a sign that something is not right. You may have your bar rolled too high because your hoods are positioned too low on the bar. In this case, many riders try rotating the bar upward to shorten the reach to the hoods, but you're also moving the drops farther away into what could be an unusable position. In this situation, it's best to reposition the hoods on the bar, even if that means un-taping and then re-taping your bars to get the positioning correct.

“It’s usually best to set your handlebar angle first,” advises Jacobson. "Once that's done, you can set up your levers. What you don’t want to do is alter one in order to solve a problem with another, because then you’re just creating a new problem.”
Handlebar Shape and Size
Another important consideration is bar shape. While there used to be just one basic road bike handlebar design with various widths, today’s riders can choose between varying amounts of reach and drop. These measurements define how far forward the bar extends before curving downward, and how low the bottom of the bar is relative to its center clamp point.
“Choosing the right reach and drop often comes down to rider preference,” says Jacobson. "Typically on a road bike, you’ll want a bar that has a longer reach and more drop in order to maximize your aerodynamic advantage. Just remember that you need to have adequate flexibility to utilize that aggressive position. Trends in the last 10 years have pointed toward bars with a shallower drop, say from 140mm to 120mm or even 110mm so that more riders can comfortably ride in the drops or aerodynamic position."
Indeed, unless you're a professional or elite amateur racer, it's unlikely that a classic bar shape with a long reach and low drop makes sense. "Sure, it's good for aerodynamics," says Jacobson. “But most riders won’t be able to comfortably maintain that kind of long and low position.”

Proper bar sizing is another essential consideration in the setup process. The general rule is that bar width should match shoulder width, though you can go narrower or wider depending on the application.
“A little narrower can be good for road, while wider is often preferred for more dirt-based gravel adventures because it enhances stability and control,” explains Jacobson. “Just remember that your shoulders only have strength for a certain range of motion, so riding a really wide bar can result in decreased control.”
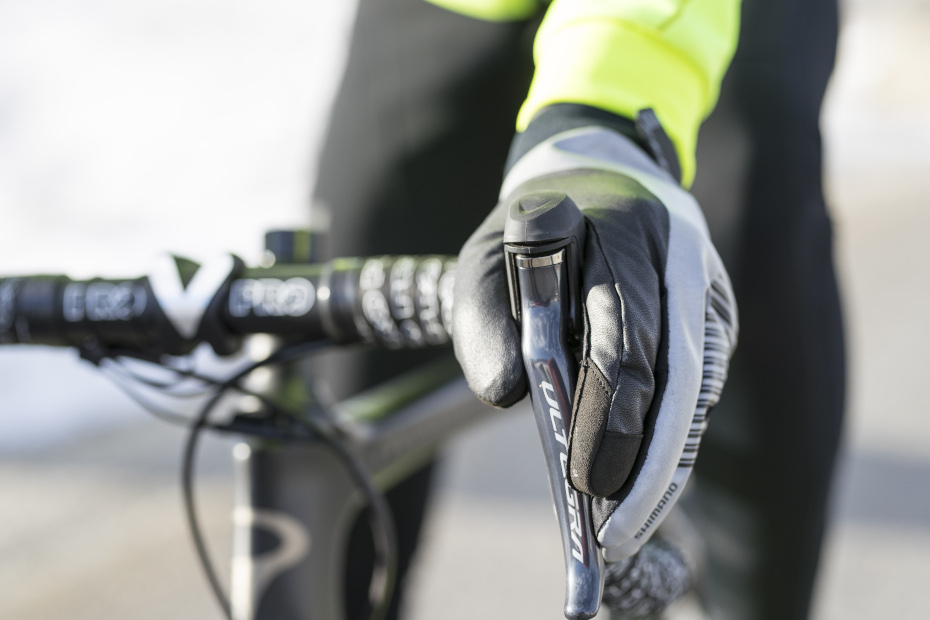
Brake Lever Reach
Once you’ve settled on a bar width and then set hood position, you’ll want to dial in your brake lever reach, which determines how far you must extend your fingers to wrap around the brake lever when it’s time to slow down.
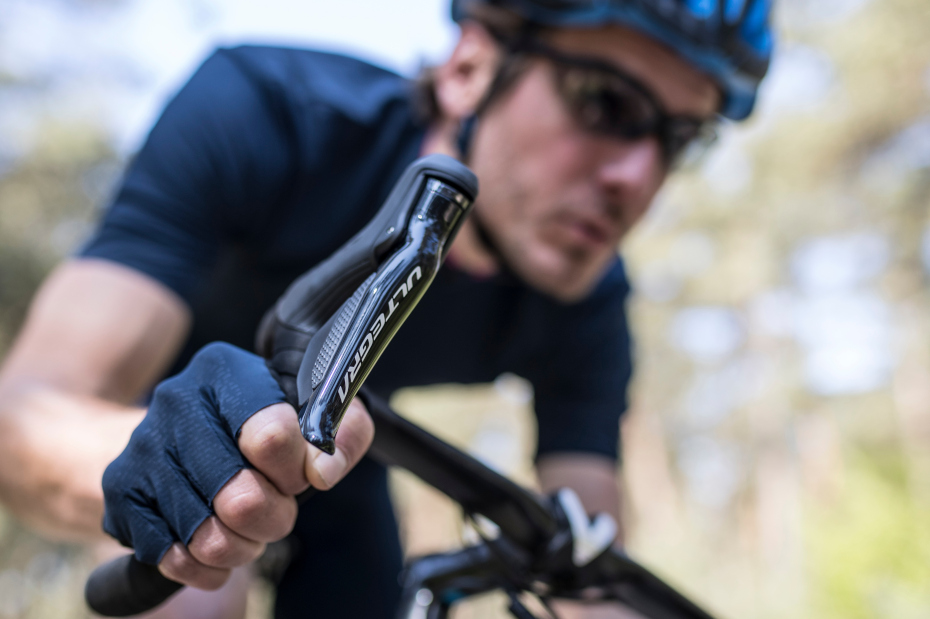
“The majority of Shimano brake levers allow for reach adjustment,” reveals Jacobson. "As a starting point, I recommend that you set it so you can reach it with your first knuckle of your pointer finger. That way, you'll feel confident about grabbing and actuating your brake levers. This also helps reduce fatigue because it’s easier to hold tension with a closed fist versus an open hand.”
Handlebar Materials
Construction material is the final consideration. Carbon bars are typically lighter and better at damping road buzz but cost more. Aluminum bars are often a touch heavier but will cost less and often create a more connected feel that some riders appreciate.
Whether you're new to cycling or looking to refine your riding position, start with your handlebar selection and setup. Tinker with the position until you find what works for you, and it will dramatically enhance your riding experience.
Share this article